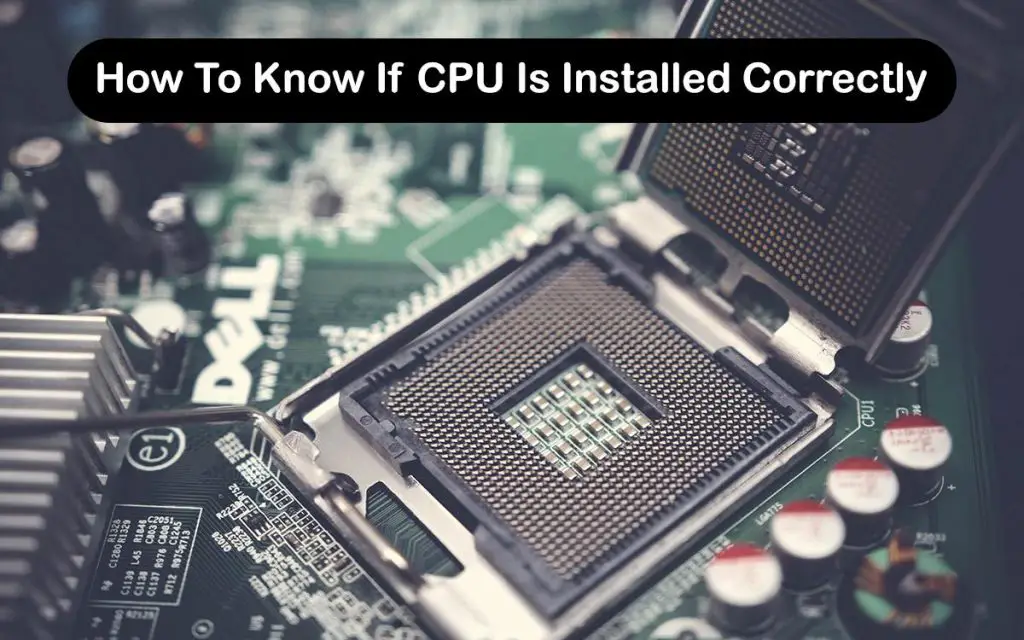
After you have overclocked, it is important to make sure that the overclock did in fact work. Sometimes your motherboard will automatically restart your BIOS settings if the overclock was too high or if some other error occurred. Then how to check CPU speed after overclocking?
There are quite a few methods that you can use to check your CPU speed. Remember that some parts of Windows or some programs will display your stock speed. But newer versions of Windows have mostly solved that issue.
If you wish to learn how to check CPU speed after overclocking using a few different methods on both Windows and Mac, continue reading to find out.
How To Check CPU Speed After Overclocking?
The first and easiest method is to do it inside the OS. You can open the task manager by pressing Ctrl + Shift + Esc. After you have opened it, go to the “Performance” tab. Under the graph labeled “CPU“, you will see your new CPU speed. This might fluctuate depending on what you are doing with your computer at that exact moment, so it is not the most reliable method.
Nonetheless, it is the quickest one and if you have already changed your power plan to use 100% of the CPU at all times, you will see the overclocked speed. Another method using Windows is to go to your System settings. You need to go to Control Panel, open System and Security, and go to System. Alternatively, you can simply press the Windows key + Pause Break at the same time.
Here you can see under “Processor” your processor manufacturer, model number, and the clock speed. The CPU clock speed will be in the end. You will see it displayed in GHz, e.g. 3.82 GHz.
Another method inside Windows is to use the DirectX Diagnostic Tool. The quickest way to access it is to go to Start and type “dxdiag” and then hitting Enter. After a few seconds, it will open up the DirectX Diagnostic Tool. Just like with the previous method, the CPU manufacturer and model name will be under “Processor”. The overclock will be displayed with a ~ symbol before the clock speed, which means “about”. This is because it only shows up with only one decimal, e.g. “~3.8 GHz”.
If you want to check the clock speed using a third-party program, you can download many different tools online. Programs such as CPU-Z, CoreTemp, and even AMD’s proprietary software called “Ryzen Master” can tell you the clock speed and many other details, like the voltage. The easiest one to use from this list would be CPU-Z.
All you need to do is download the program for free, install it, and open it. After a few seconds of loading, the program’s window will pop up with all the data you need. You will find your new clock speed on the main “CPU” tab under “Core Speed”. Unlike in Windows, this program will display the exact number in MHz. For the sake of simplicity, we will use the same example from above. Here the 3.82 GHz processor will show “3811.79 MHz”, which is more accurate.
But how to check CPU speed after overclocking on a Mac? If you are rocking one, checking the clock speed is even easier. All you need to do is to click on the Apple menu and press “About This Mac”. A new window will pop up and you will see all the data you are interested in under the “Processor” tab. Just like with Windows, it will tell you the clock speed with one decimal, e.g. 2.6 GHz.
Conclusion
Checking your CPU clock speed is not a daunting task. You can do it in seconds if you do it in Windows or Mac. All you have to do is go to System Settings on Windows or About This Mac for Mac users and checking the “Processor” entry.
If you are interested in more accurate readings, downloading a third-party program is mandatory. Using those programs is not difficult at all. Most of them are free and very easy to use. Now you know that checking your clock speed after you have overclocked is a quick and easy task.