If you want to change your thermal paste, your CPU, or want to install a new aftermarket CPU cooler, you will need to know how to remove heatsink from CPU. So, how is it done?
This will depend on the specific cooler and platform, but all heatsinks have one thing in common. They all screw into the motherboard at four points, one in each corner. It is a standard for all motherboards regardless of the manufacturer and generation. We will tackle here how to remove heatsink from CPU for both Intel and AMD stock coolers as well as some aftermarket coolers.
- In general, you first want to power off the computer completely.
- Next, you want to remove the side panel and lay your computer onto its right side.
- After that, you need to disconnect the CPU fan out of the motherboard. It is a 3-pin cable. Do it gently as they are quite fragile.
- After that, you want to loosen the four screws. Here is where the differences in CPU heatsink design come in.
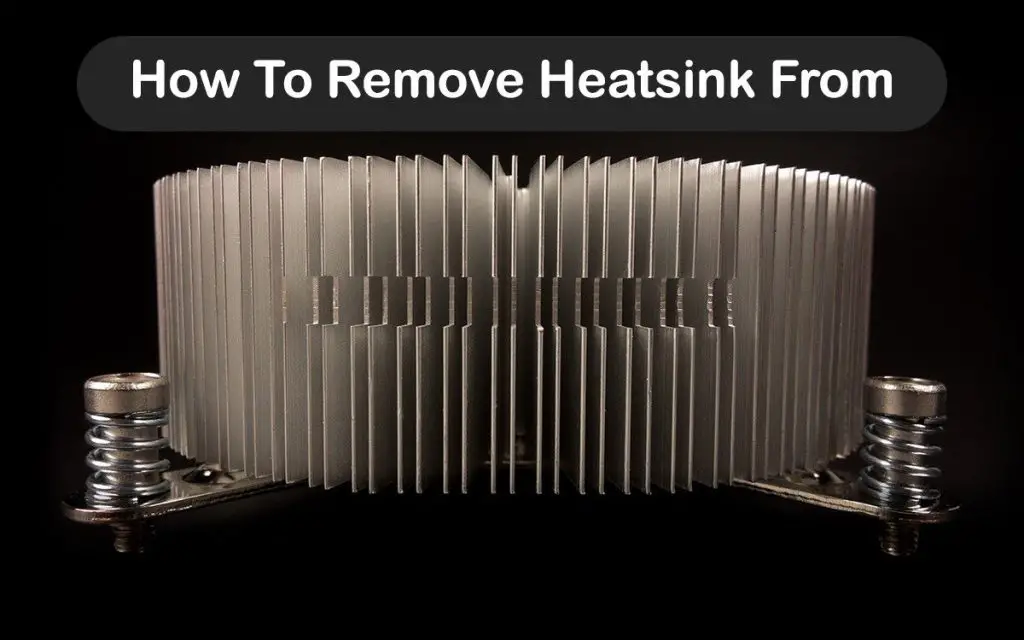
Some CPU coolers will have normal screws that you can see. All you have to do is unscrew them with a screwdriver. AMD’s newer Wraith coolers for Ryzen use spring-screws to mount the heatsink. All you have to do is unscrew the four spring-screws. Do it slowly and try to unscrew them all at the same time to avoid putting too much pressure on one side of the CPU and motherboard.
Try to unscrew the opposite sides. For example, first, undo the top left screw halfway out. Then do the same for the bottom right, top right, and bottom left in that order and manner. After you have done that, simply lift the heatsink off.
If you wish to know how to remove heatsink from CPU for Intel and aftermarket coolers, then continue reading.
How To Remove Heatsink From CPU?
We have already covered AMD above as it is the simplest one to remove. Intel is slightly more complicated. Intel has been using the same heatsink design for a long time, so this guide will be more or less universal.
First things first, make sure that the CPU fan header is plugged out. Next, you want to grab a flat-blade screwdriver. You will see that each corner has a plastic piece with an arrow and a line where you can stick the screwdriver in. You want to use the screwdriver to rotate the pins counterclockwise by 90 degrees. You will feel the pin release from the socket.
The same principle applies here as for AMD. You want to undo one pin at a time and always do it on the opposite corner from the last one you unscrewed. That will reduce the strain on the CPU and motherboard. Hold the heatsink the entire time as it can fall out or slide on its own once it is unscrewed. After you undid all four screws, pull up each pushpin to release it completely. Then simply remove the cooler.
As far as aftermarket coolers are concerned, they generally use the same design. They most commonly use a similar design where you simply have to unscrew all four screws that hold it. If you do not have a design like that, it is always best to check the manufacturer’s website or watch a guide online to understand how the mechanism works. Some air coolers do not have a very good and intuitive design and if you do not know how to do it exactly you risk damaging your components.
Conclusion
All CPU heatsinks have a similar design in the sense that they have four screws that go into the motherboard. Aftermarket coolers usually have brackets that are screwed in separately and do not need to be removed when you are removing the heatsink but rather use a mechanism that goes on top of them. This is different for all air coolers and you need to check the product’s manual to see how it works.
AMD and Intel stock coolers are much easier to remove. For AMD, all you have to do is unscrew the four screws and for Intel, you have to turn the pins 90 degrees counter-clockwise and pull them out. Just remember that you should always plug the fan out first.


